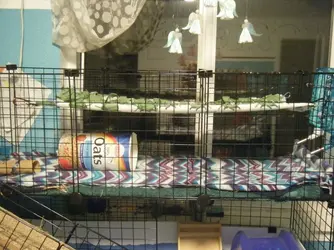
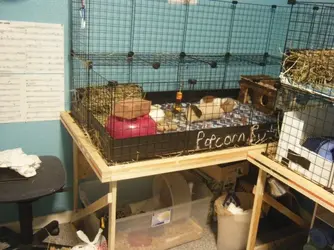
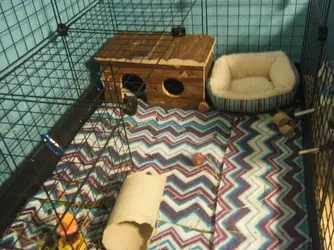
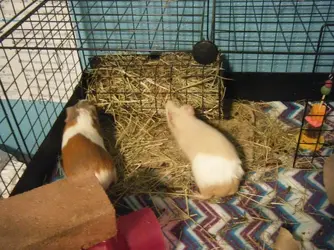
Member Gallery: C&C cages/homemade cages

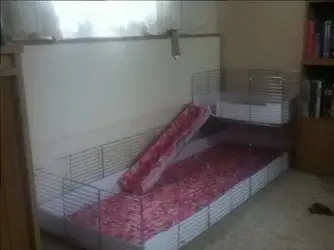
Thank you! Melamine and mdf for base from b&q as they cut to size. Perspex for the fronts :) lined with Lino tiles. We attached wood to the front and sides so we can slide the Perspex in and out which makes cleaning super easy. ;)

Just waiting for my correx to make the kitchen areas so it stays cleaner on the fleece side of the cage ^^

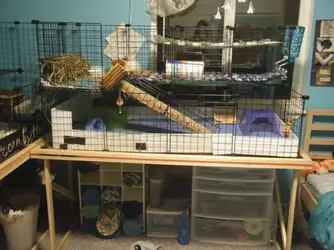
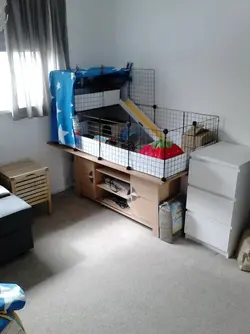
It's sitting on top of a unit from ikea which has so much storage. Thing is the unit depth isn't great so I have 2 long legs from ikea that supports the back.
 
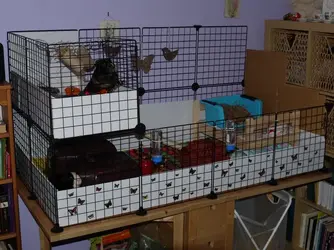
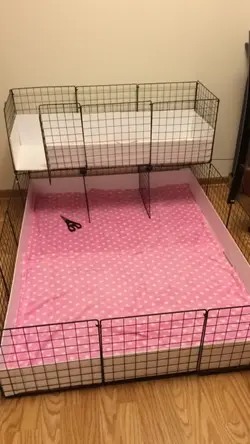
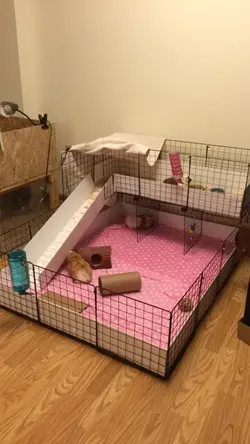
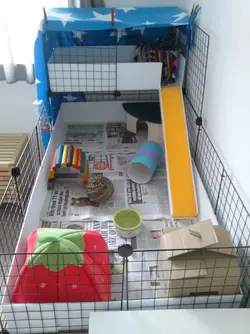
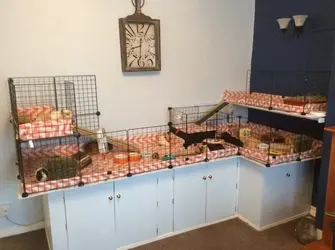
This is my newly made DIY C&C set up for my 2 boys, Bubble & Squeek.

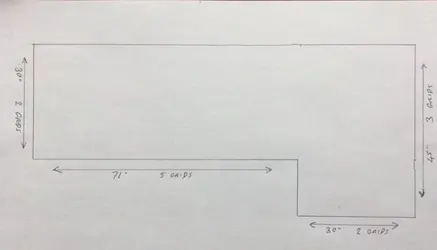
Size: Bottom - 150cm X 60cm
Top - 40cm X 60cm

Materials Used : 25 x Cooling Trays brought from Tesco for £1 each, Cable Ties from 99p store for about 500 (going to replace these with metal paint tin clips when I have the money to get them), Correx 2mm brought from Ebay for £10.99 (free postage) for 240cm x 120cm sheet, fleeces brought from charity shops and car boots 50p - £1 each.

image-2.webp
image-3.webp
image-5.webp

View attachment 37626
 
Introducing Parsley & Pippin and their new C&C cage and C&C exercise pen


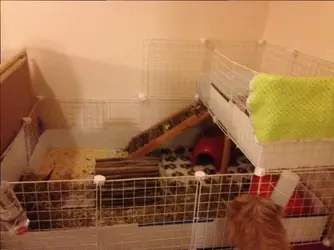
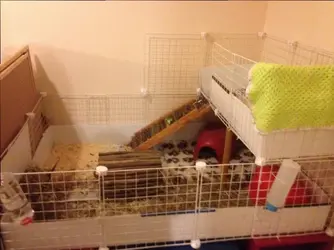
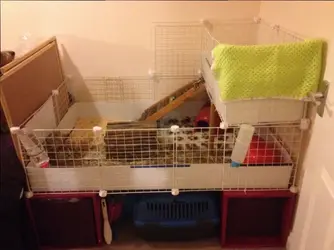
Their C&C cage is a 4x2 with a 1x2 loft and their fold away exercise pen is 4x4. The grids were purchased from Wayfair (Wire cubes by Safco, about £37 a pack I think). The their cage is 2x1 short of the recommended minimum for boars (as I found on this forum) but they do get regular time in their pen to run off energy. The pen takes up a lot of space in my living room so I can't let them have that space all the time but it seems to be working as a compromise. After the first few days as their adoptive piggy slave I discovered these two boys were quite dominant and challenging each other frequently with little displays of dominance. I have since taken the advice to get two of everything for their cage and hope this will work to keep the peace buy giving them each some territory of their own within the cage.
P1060904.webp Parsley is in the hay loft and Pippin's little white stripe on his nose can be seen in the bottom left corner (front) :-)
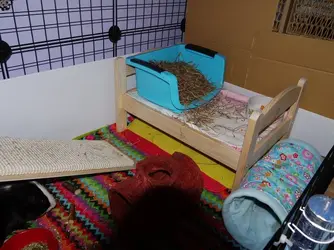
P1060901.webp The bed was from Ikea (doll bed, £16). They love it. I have a small hay tray on it as an alternative if they are not in the mood for sharing the hay loft.
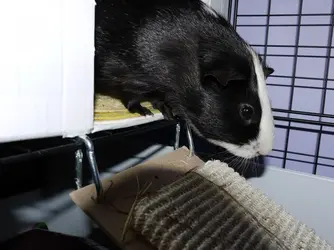
P1060913.webp Pippin is about to descent the ramp. It is a cat scratching post. (Ebay) (about £9.50 I think). They love the ramp! (And it keeps me entertained as well watching them!) I drilled holes in the top corners and attached with clips from local hardware store. It is great as when cleaning I can lift the ramp and fold upwards.
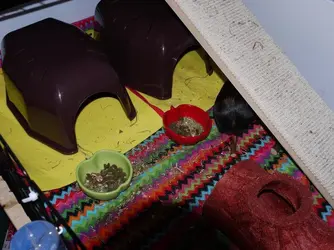
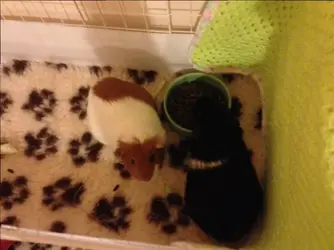
P1060909.webp Two of everything!
Two pigloos (Pets at Home £6) Apple dishes for dried food (£4)
The pigloos have dish drying mats (Ebay, £1.79 each) and a shammy on top as extra protection for wetness. This seems to work well. I use a fresh shammy each morning (they are washable) and the mats get used twice (again washable). They get flipped the second morning. Reduces need to wash cage liner as often. Very easy system for cleaning.
P1060899.webp Exercise pen. This folds away. I used the clips small clips from the C&C cages (I bought 2 packs overall for both cage and run). The run then folds away like a concertina apart from one grid which I use as the joining grid. It has the bigger clips. I use a shower curtain and a fleece on top to protect the floor. My boys do a lot of scent marking so I can't give them free run of the room so this is the best I can do!
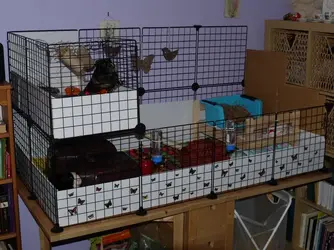
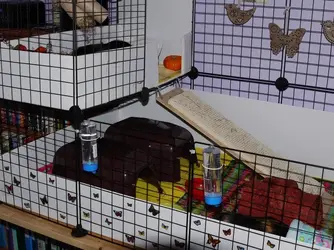
Their cage and run and working out well for me as far as cleaning and it is a big step up for them. They were in a 100 cm x 50 cm cage before (with previous owner) with one hidey, one food bowl and drip :-(. Given how many dominance behaviours I've seen I've no idea how they kept the peace before!

P1060904.webp

P1060908.webp
 
This is our set up. We made the tables from 1x2s and osb from home depot. Both cages are 4x2 and one has two boys, the other two girls. They are c&c, and I got the grids from amazon and the coroplast at my sign shop.
DSCF7418.webp
The girls have a loft that is 4x1 with a 1x2 for the ramp. It's pretty much an L.
DSCF7406.webp
And here is an attention seeking Ayla. Also, the ramp goes up for cleaning. I do have Ayla and a cuy in it so the cuy, Ginger, is in hiding at the moment. She does come out to play, though, so no worries. I like to keep the floor pretty bare, especially for these two, as they are both dominant piggies and they run, and Ginger is a cuy so she needs space. That back corner with the green hidey is pretty tough to reach, but with my long arms, I can get there. The rest of this floor is easy cleaning.
DSCF7407.webp
This is the 1x2 part of the loft, and I decided to put the hay rack on ti's side because the girls like to knock it down anyways :) I do have to use a chair to get up there, but I'm planning on cutting the grids so there is only half a grid for the wall.
DSCF7408.webp
Here is the 3x1 section. The water is at the end.
DSCF7410.webp
Here is the boy's cage. I wanted to be able to monitor Ayla and Ginger's behavior so I tucked the boys in the corner. They are brothers and each are about two years old so I'm not worried. They will be getting their loft soon, but I ran out of the cardboard for the ramp.
DSCF7412.webp
This is the back part that is in the corner. I use a chair because of the table's hight. It is simple to clean, if your arms are long enough. Again I like to keep the floor bare of much toys, the boys love doing laps and they don't chew much anyway, but I do still give them something.
DSCF7417.webp
Here is the open half of their cage. Again, I had to flip the hay rack because they just knock it down from it's vertical position.
DSCF7416.webp
It's much better for me to stand up when cleaning, interacting, or what ever I do woth the pigs. Also I have noticed with the new height and friend, Ginger comes out a lot more often. In fact she's out as I type this...
DSCF7421.webp
Love them!
 
This is the second set up I had. It's made from two play pens I got from pets at home. It had loads of space but took over my living room because the shape wasn't really flexible and the sides were high. The piggies loved it though!

image_zps9kruu9bo.jpeg


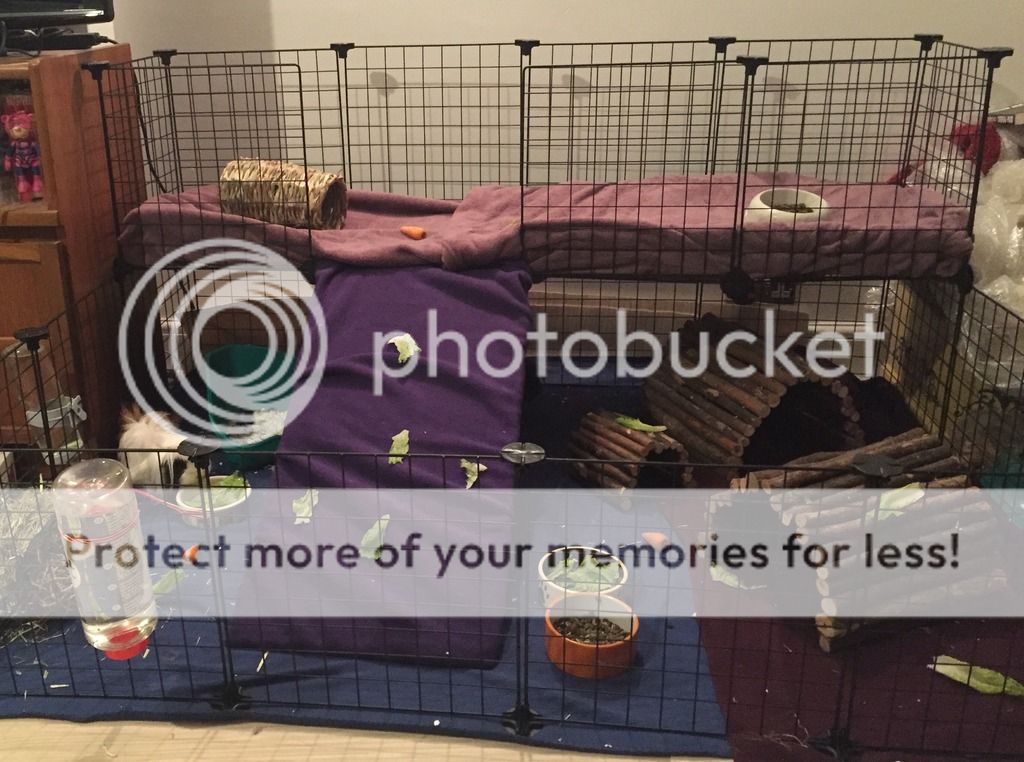
This is my current set up. It's a 4x3 grid using the safco shelving from wayfarer (1.5 packs). It is a similar floor space for the piggies and more uniform for me. As before I have carpet and vinyl flooring underneath with fleece on top. This set up is brand new so they've not found the loft yet (the lettuce didn't help entice them). I may expand it but I'm unsure yet.

image_zpspztxuq7i.jpeg
 
My girls have moved into their new cage a few weeks or so ago now!
They are now in a 2x6 c&c DIY cage.
3 piggies live here!
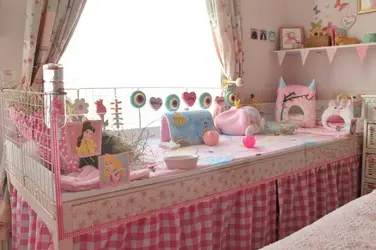
We handmade it from scratch, including the table base. Fixed c&c grids around the three sides & the front made of plexiglass. I also decopaged the front panel with floral paper on the table before fixing the plexiglass to the front.
I then fitted correx to the inside & made a curtain around the bottom to hide storage. :)
I already had the grids from their previous cage, but all in all the new cage cost £20 for the base table (as my Mum's partner got some pieces of free lumber from work), the plexiglass was around £25 with postage & the grids were bought from Grendle UK before (can't remember how much they were!), Correx was also previously bought, cost £15 on Ebay for 4mm.
Hoping to eventually build them either an extension or a loft area when we move house.
We have a Youtube if any of you're interested! Sugar&Spice Piggies Sugar&Spice PiggiesIMG_0006.webp
 
So after spending hundreds on insulating the shed I decided I just wasn't happy with the pigs living in there! It has no electricity so I still worried about the cold and I didn't enjoy going outside in the dark to feed and spend time with them. I also felt they were on their own too much and not part of the family.
So.... I bought a load of grids and cortex, moved my spare room around a bit and they have a fab new pad! It's my first go so I hope to extend the top tier to perhaps have two big floors with a ramp connecting them but they seem happy for now.
They still have their summer hutch and run right outside the back door but this will be their winter residence

image.webp

image.webp

image.webp

image.webp
 
Ok so I recently made my own C&C cage so I could put storage in the bottom and so my guinea pigs would be eye level so they would get used to being around people as I have not had mine for more than a couple of months. I have four boys that live in this cage and they get along wonderfully.
I got the 14x14 grids at Sears for $20 for a box of 24 grids and connectors. I used coroplast for the top and bottom and then covered that in fleece and used extra for padding. I did zip tie the cage for added security seeing as how my cubes are 4 grids tall.
My cat food bowl used to be on top of the other guinea pig cage so my cat even has a hidey house/ food area in the second level. The guinea pigs are on the 3rd and 4th level.
k5vTpHB.jpg

Below is the second floor close up
thACYd8.jpg

KEac34x.jpg

Below is the first floor up close
RUAAMyW.jpg

hnbWfiF.jpg

There is a bunk bed on the right.
 
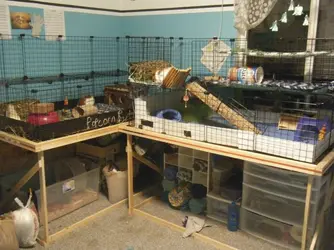
Two different cages I have, both are not completely set up as can be seen. I have 4 girls who live in the C&C cage, and 3 boys who are in the wooden cages (2 in one and one in the other). I plan to add fleece strips to the bottom of the loft to make a "built in hidie house". Loft is for food and hay, bottom for roaming and fun once I add more things.

image.webp

image.webp

image.webp
 
Some amazing set ups on here! Loving the table you have @EmmaPiglady :D

Mine isn't as innovative or interesting as others, but here you go!

1. Before piggies arrived and before I made the fleece liners
DSC_0164.webp
2. We made an MDF extension to the TV cabinet so the table top had space for the full cage
DSC_0172.webp
3. Piggies in situ! Note there is now two of everything to avoid unnecessary squabbles!
DSC_0200.webp
 
image.webp Here's a couple of pics of my pigs c&c cage - it's a 5x2 and houses 2 boars (brothers Ted and Nigel)
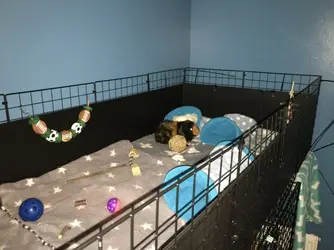
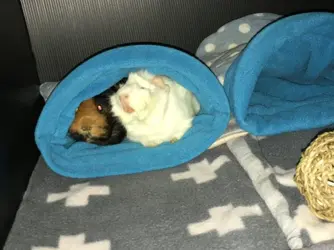
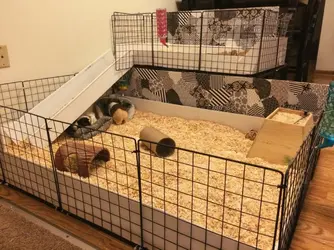
Kept it quite simple and clear as Nigel is a special piggy - death and blind and has a head tilt. He's happy in his own little world though ❤️

image.webp


Ah I just need to cut the cable ties - just finished the cage this evening and couldn't be bothered to do it.

My mini lop lives below in her 5x2 cage too ;)

image.webp
 
Hello everyone! Piggie newbie here
Wanted to show off my homemade cage.

Before- (well it was a wardrobe before but I don't have a photo of it. We just took off the doors!)


After-


I love it! ❤️❤️
 
Girls new setup!
C&C cage with a 3x4 base and a 2x3 loft; roughly 18 square feet. Loft is for food and hay seeing as my girls tend to potty where their food and hay are located. Goal was to concentrate the mess to one area. Base is for living space. Currently my 4 girls are kept in here. However I hope my two new rescues will also be living along with them so in time perhaps 6 girls!

image.webp
 
image.webp If it was this bookshelf one then it's literally an IKEA bookshelf laid on its back on the floor...I used aquarium safe sealent around the edges and then put correx to line the bottom as the back was so slippy! I also used an IKEA shelf extension to make it a bit longer and just cut a doorway in. Though you can just get a longer bookshelf :)
My other cage is:
image.webp
If you want to make is one then....
This is the table LINNMON / ADILS Table - birch effect/silver-colour - IKEAthey do other sizes if you want bigger or smaller. The table legs are separate and £2.50 each. Then you want to buy either melamine board or conti board which I used as B&Q didn't have any white melamine left. I used 30cm (width so piggies can't just out and 15mm thick...here's the link Conti MFC Furniture Panel White (L)2440mm (W)305mm (T)15mm | Departments | DIY at B&Q You'll need to to get 2 to do the 3 sides if you use the same size table as me (They do do a shorter piece of wood so can get one big and one small). Then get the man in B&Q to cut into 2 pieces 75cm long for sides and 1 piece 147cm for the back (you need to minus 3 cm to account for the side pieces being 1.5cm thick each) Then get some corner brackets like this...http://uk.dhgate.com/product/furniture-cabinet-fastener-corner-braces/216950988.html?utm_source=pla&utm_medium=GMC&utm_campaign=ux168car&utm_term=216950988&f=bm|216950988|019027-Furniture|GMC|Adwords|pla|ux168car|GB|019027004-FurnitureAccessories|t|OSLNBL|&gclid=CjwKEAjwitKtBRCt3uOYsY2v7FASJACJU5XsZXzEbk3yr_dBXpGr7lbMG3T6Nsn4cPtRht8DIDfjxhoCc8Hw_wcB
You can get from Hombase for £1.99 but can't find the link. So I literally got some no more nails glue and put that on to 2 end edges of the long piece and stuck the 2 sides on, left 24 hours to try then screwed the corner brackets on for extra strength. Then you want to put no more nails glue directly on the table all along where the 3 edges of the 3 side panels will go. Just lift the 3 sides that are already stuck together and plonk on top! Leave to dry. You could put more corner brackets on to attach to the table but I wanted my fleece to lie flat so didn't bother. I just then used some aquarium safe sealant around the edges. You want to buy either acrylic or Perspex at least 3mm thick, then I used no more nails tape along the bottom where the Perspex attaches to the table and no more nails glue along the sides to attach it to the front :)
 
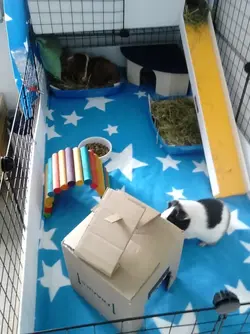
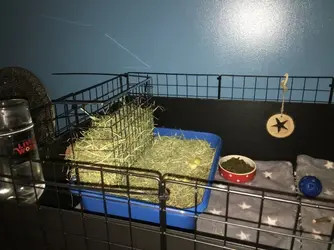
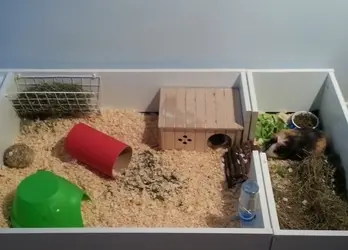
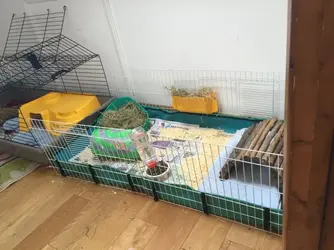
Hey I just thought I'd share my cage, one of them is an old commercial cage that I've had for a few years and one of them is a Midwest guniea pig habitat that I got from Amazon, I connected them together to make a bigger cage for my piggies :) they seem to love it so far. Feel free to let me know what you think!

image.webp

image.webp
 
13256473_10209606601752197_1529591901328263758_n.jpg


13254212_10209619587796840_4503022890158234451_n.jpg


FINALLY FINISHED MY C&C CAGES HOOORAAAAAYYY!

so I have six guinea pigs, a bonded boar pair Legolas and Aragorn, bonded girl pair Honey and Mabel and two separate males due to be neutered in three weeks so I can bond them with sows. The pairs are currently in 4 by 4 cages and the singles are in 3 by 4 cages. Although I plan on increasing my sow herd soon and there is enough space in a 4 by 4 cage. the 3 by 4 will also be okay I think regarding space for when I have Blackjack and Toffee paired with girls. Please tell me if you think this will be too small!

I ordered my squares off grendle uk and got 2 sets of 26 squares which are £45 each. Instead of correx I chose to use corotherm which is thicker and stronger as it is made for conservatory roofing. ( be warned if you want to use this instead of correx be prepared for some hard labour to bend it and score and cut it, it took me three days for four sheets ) This cost £144 for the sheeting off onlinepolycarbonate. I used some of the off cuts to create a clear barrier between each cage on the right side. I didn't have enough connectors so i used clear zip ties aswell.

All in all I am really happy with my cages and its never been easier to clean them out ect..! I think the piggies love them too!
 
Last edited:
On the opposite end of the C&C scale is my girl's summer home for when the shed gets too hot ! It's quite basic and the bedding gets everywhere! But BB the kamikaze pig hasn't escaped :-)

image.webp
 
image.webp George and peppers new home
C&c grids off eBay and correx from travis Perkins
The boys seem so much happier in here they were in a ferplast 100 with the 40 extension but this is a lot wider haven't seen them run and popcorn so much :D
 
Back
Top