David&Carly
New Born Pup
Morning all, I hope you're all enjoying the weather.
Carly and I decided it would be better to build our own DIY piggy cage in readiness for a new friend for Bertie. It is bigger than the Furplast 140 cage we currently use so as to minimize potential squabbling between the two. The worse case scenario would be to halve the enclosure should they ultimately not get on.
Here are some progress pics. I hope they provide some inspiration on what can be done with a little bit of planning and minimal tools:
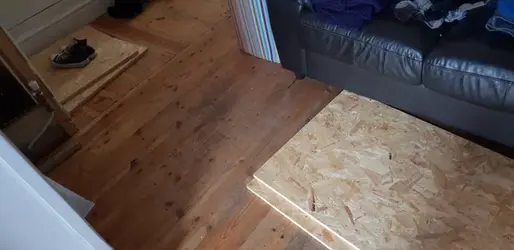
We started off with some pre-cut OSB from B&Q. Very inexpensive and they'll cut it for free. Just check they have the facility to do so as not all B&Qs offer this
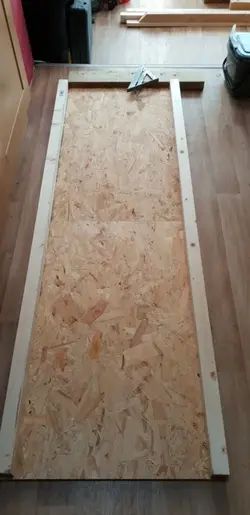
Making the frame to strengthen things up and provide a mounting point for the legs.
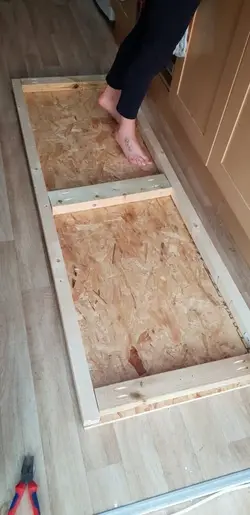
The frame was joined using pocket holes so everything was concealed. This would be the underside of the house anyway so wouldn't be seen.
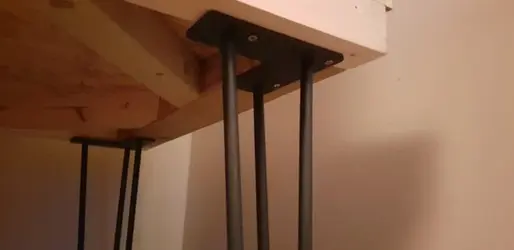
Attaching the legs. These were from eBay and were a little dear but they match other furniture we have in the house.
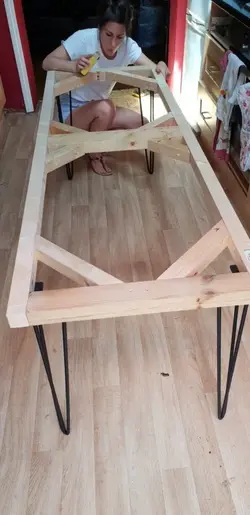
Reinforcing the frame and making sure everything is nice and flush ready for the board to lay on top.
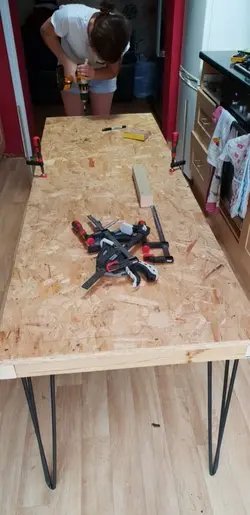
Fitting the board
.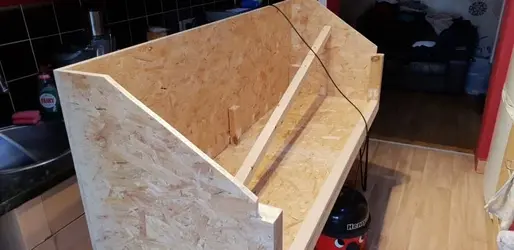
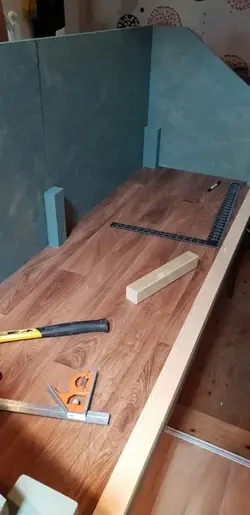
Fitting the back and side panels together with some uprights to reinforce things further. These uprights will provide the foundations for the upper platform. The angles on the sides were cut using a jigsaw but could easily be done with an ordinary wood saw.
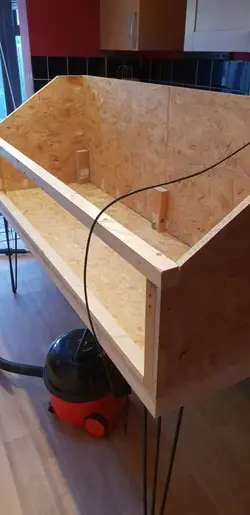
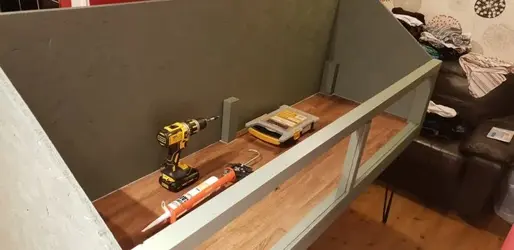
Test fitting the top and bottom frame for the perspex.
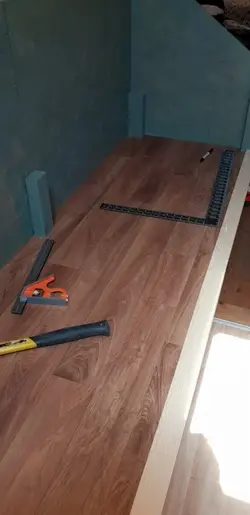
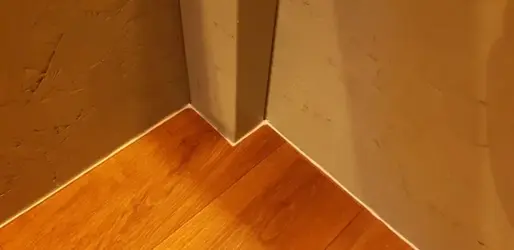
First coat of paint on and cutting the vinyl to size......
Carly and I decided it would be better to build our own DIY piggy cage in readiness for a new friend for Bertie. It is bigger than the Furplast 140 cage we currently use so as to minimize potential squabbling between the two. The worse case scenario would be to halve the enclosure should they ultimately not get on.
Here are some progress pics. I hope they provide some inspiration on what can be done with a little bit of planning and minimal tools:

We started off with some pre-cut OSB from B&Q. Very inexpensive and they'll cut it for free. Just check they have the facility to do so as not all B&Qs offer this

Making the frame to strengthen things up and provide a mounting point for the legs.

The frame was joined using pocket holes so everything was concealed. This would be the underside of the house anyway so wouldn't be seen.

Attaching the legs. These were from eBay and were a little dear but they match other furniture we have in the house.

Reinforcing the frame and making sure everything is nice and flush ready for the board to lay on top.

Fitting the board
.

Fitting the back and side panels together with some uprights to reinforce things further. These uprights will provide the foundations for the upper platform. The angles on the sides were cut using a jigsaw but could easily be done with an ordinary wood saw.

Test fitting the top and bottom frame for the perspex.

First coat of paint on and cutting the vinyl to size......
